Click on Calendar in the left navigation panel in The Actor’s Office. In the top left corner click the button Add Appointment.

A new screen will open where you can add the appointment.
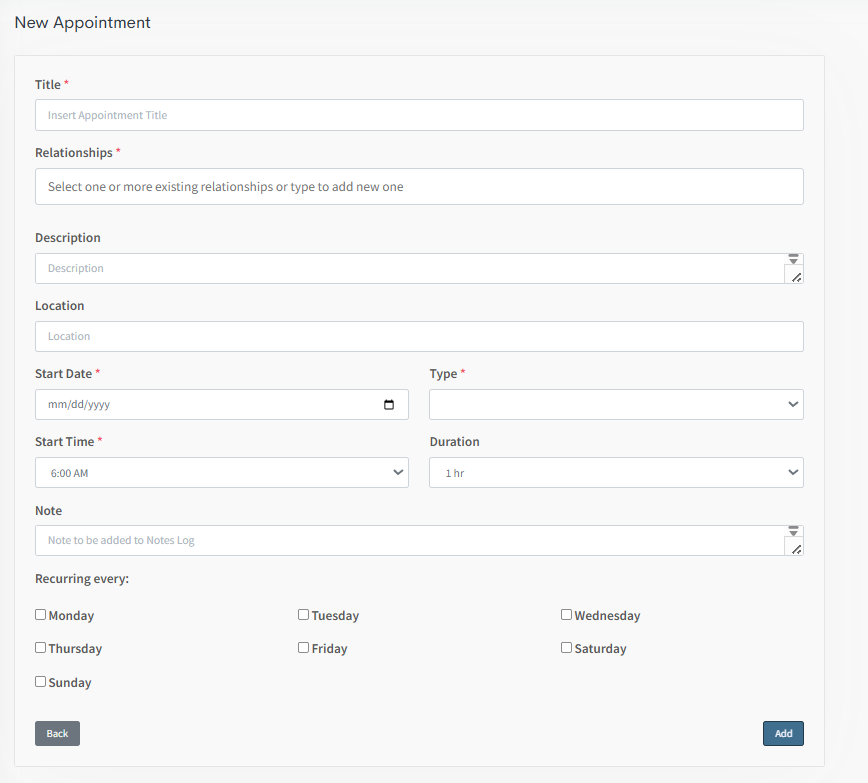
The Data fields are as follows:
Title
Relationships: You must select a Contact or multiple contacts with whom this appointment is attached. This saves a log under every Contact with all their appointments.
Description
Location
Start Date
Start Time
Type: TAO comes pre-loaded with Appointment Types that are linked to our Relationship Reminders Systems but you can also add your own types as well. New types can be added on the main calendar page by selecting Legend and clicking Add New.
Duration: The amount of time you’d like to set aside for the appointment.
Note(s)
Recurring: You have the availability to have appointments recur Daily or Weekly.
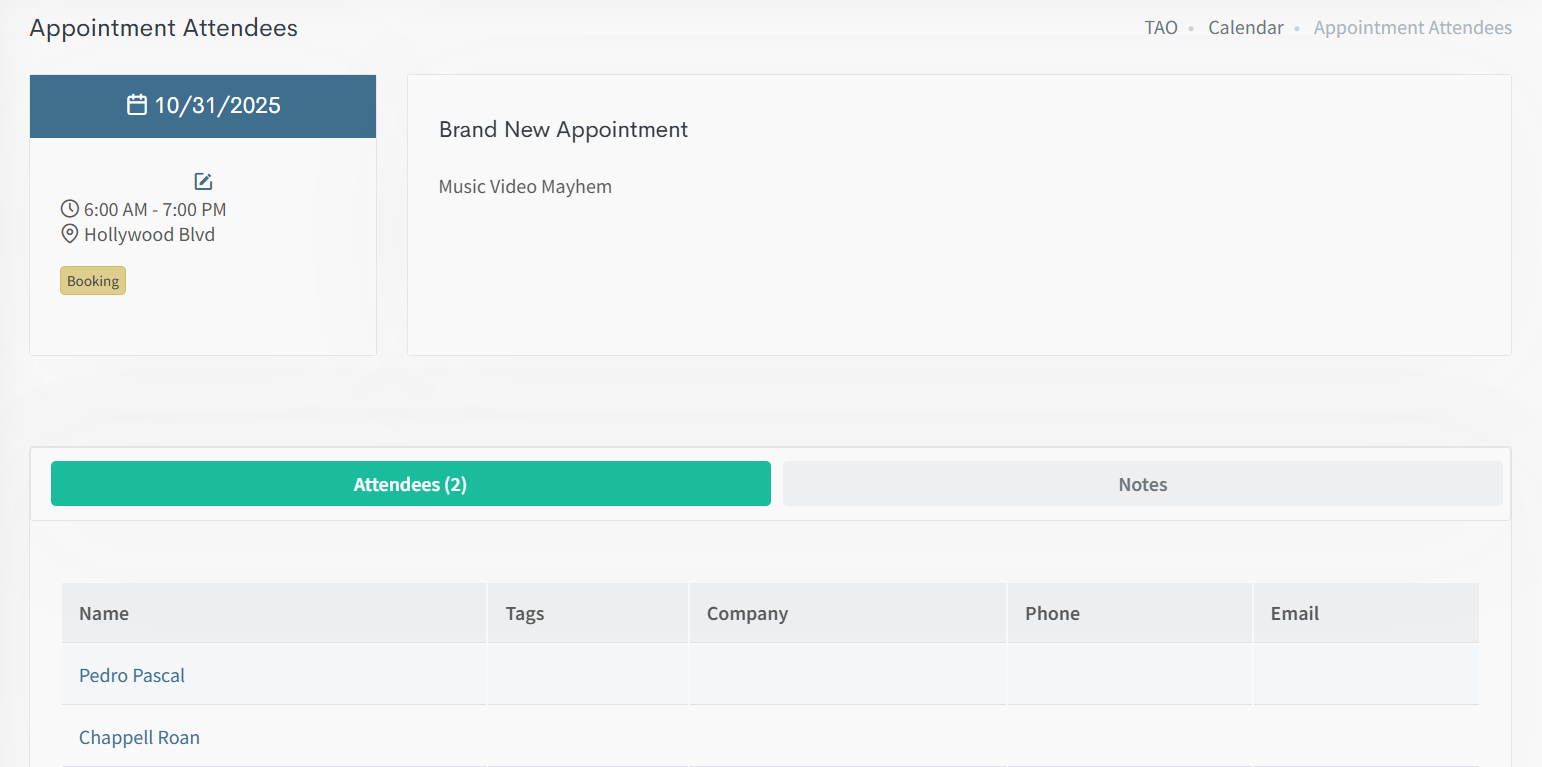
Each appointment is also saved to your Contact Profile for the Attendee(s).
Once you have saved the Appointment it will appear on your Calendar.